NEPI Engine – Image Viewer Application
Introduction
This tutorial covers NEPI Engine’s built-in Image Viewer application which supports viewing up to 4 imaging streams simultaneously. The application supports connecting to any available image stream on the NEPI device such as:
1. Multiple output streams from a single camera
2. Video streams from different cameras
3. AI detector output image streams
4. Automation script output image streams
This tutorial will show examples of connecting and viewing all four of these image stream sources using the Image Viewer application.
What you will need
1) 1x NEPI-enabled device with internet access. This tutorial uses an edge-compute processor box that includes an NVIDIA Jetson Xavier NX embedded GPU module with NEPI Engine software installed.
NOTE: See available off-the-shelf NEPI enabled edge-compute options at: https://numurus.com/products-nepi-enabled-hardware/
2) 1x PC with internet access and configured to access the NEPI device’s RUI browser-based interface and user storage drive. This tutorial uses a Windows 11 PC and a USB GigE Ethernet adapter and Ethernet cable.
NOTE: Instructions for configuration a PC and connecting to a NEPI device’s RUI and user storage drive are provided in the NEPI Engine Getting Started tutorial at: https://nepi.com/nepi-tutorials/nepi-engine-connecting-and-setup/
3) 2x NEPI IDX supported 2D cameras. This tutorial uses two USB webcam cameras.
NOTE: See the NEPI Engine Hardware Interfacing tutorial “Imaging Sensors” for details on connecting a camera to your NEPI device at: https://nepi.com/tutorials/
Hardware Setup
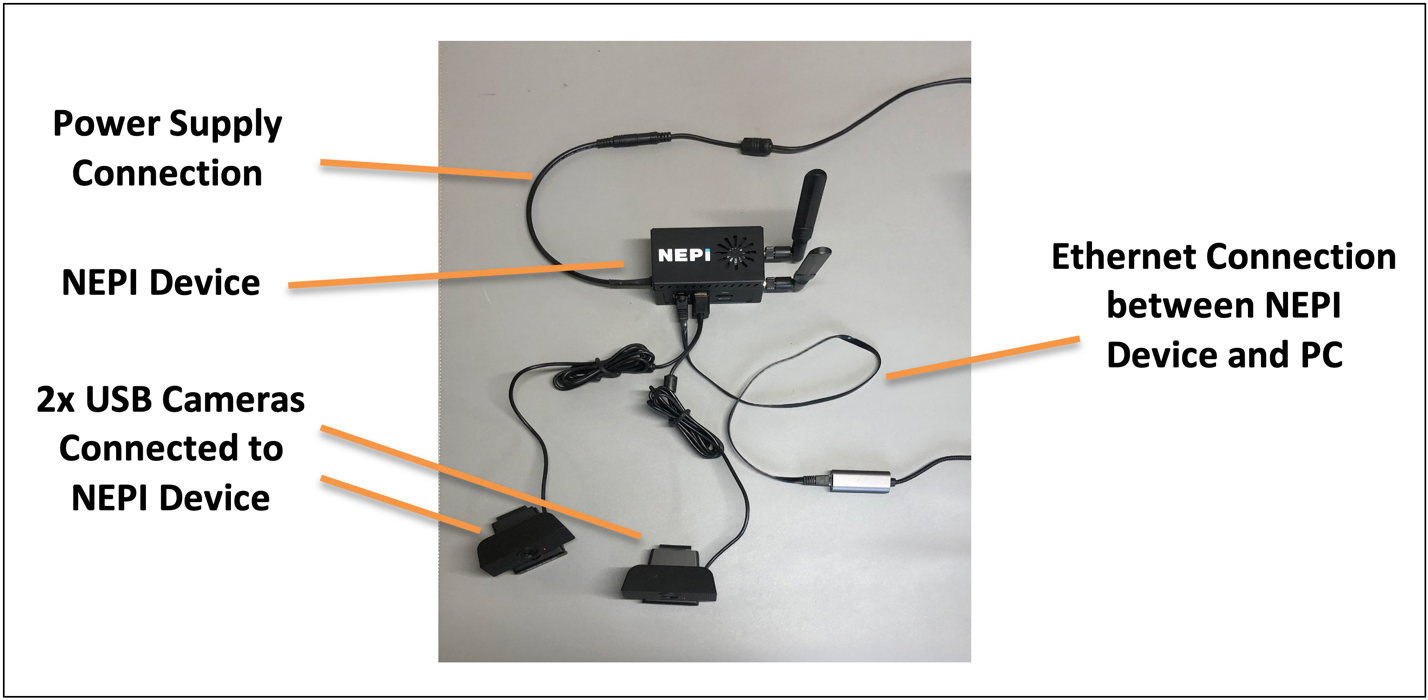
1) Connect the two NEPI IDX driver supported cameras to your NEPI device.
2) Connect the NEPI device to your PC’s Ethernet adapter using an Ethernet cable, then power your NEPI device.
Viewing Data From Two Cameras
In this section we will view image streams being produced by our two connected cameras. Each of these cameras produces both a color and a black & white image stream we can connect to an view with the Image Viewer application
1) On your PC, open your NEPI device’s RUI and select the Applications/Image Viewer tab from the top menu to open the NEPI Image Viewer application page.
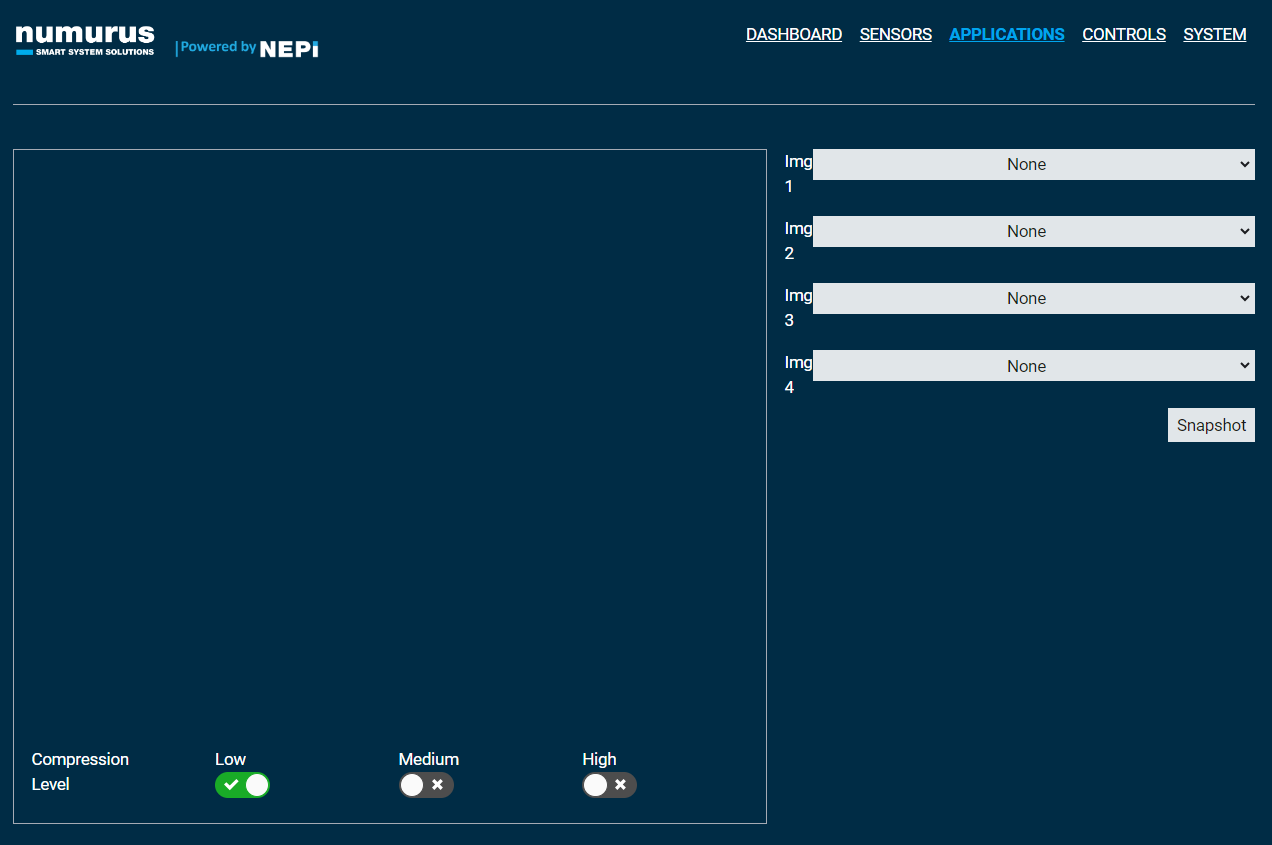
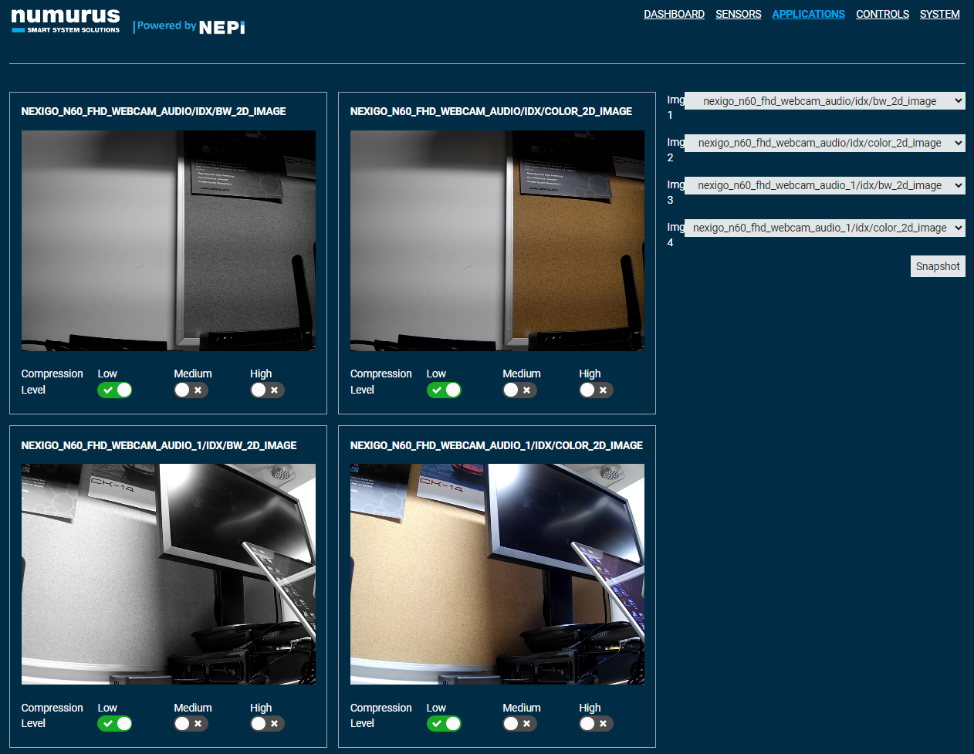
2) Using the image topic selection boxes on the top right pane of the application, select the images from the dropdown boxes you want to populate the viewing pane with. The dropdown box shows both the image stream source (i.e. nexigo n60 fhd webcam) and the type of data presented by the topic (i.e. black and white 2d image). Since we have two cameras of the same type connected, the IDX driver system assigns a _1 to the second camera during the auto-detect process.

3) Select the black and white image from the first camera in the dropdown pane. The first image will fill the entire image pane.
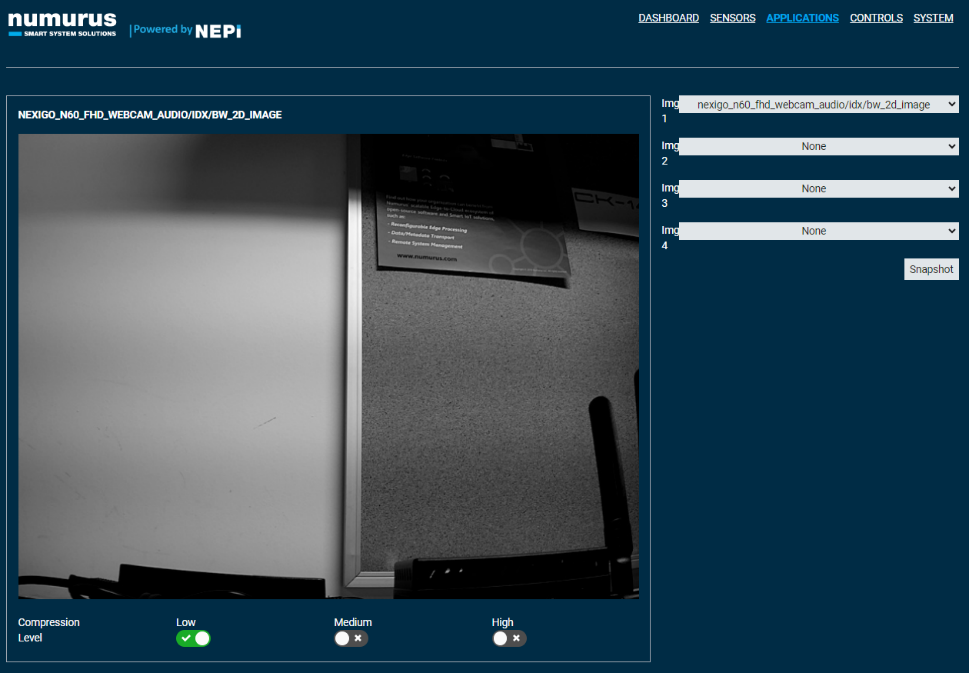
4) In the remaining image selection dropdown boxes, select the remaining cameras and image types in the order presented, which will open up additional image viewing panes for each image stream, dynamically adjusting the image stream views to fill the space.
Viewing Camera and Processed Data
In this section we will view the raw image streams from one of our connected cameras along with the processed data output from the NEPI AI and Automation applications, which are each covered separately in other tutorials in this series.
NOTE: The following example assumes we have started an AI detection process using the NEPI AI application that publishes a new image stream called “detection_image” with AI detection bounding boxes and labels overlayed on the camera’s color image stream, and a NEPI automation image contours process script that publishes a new image stream called “image_contours” with contour data overlayed on the camera’s color image stream.
To learn how to use NEPI’s AI and Automation applications, as well as access the AI models and automation scripts used in this tutorial, see NEPI Engine Application tutorials at each subject at: https://nepi.com/tutorials/
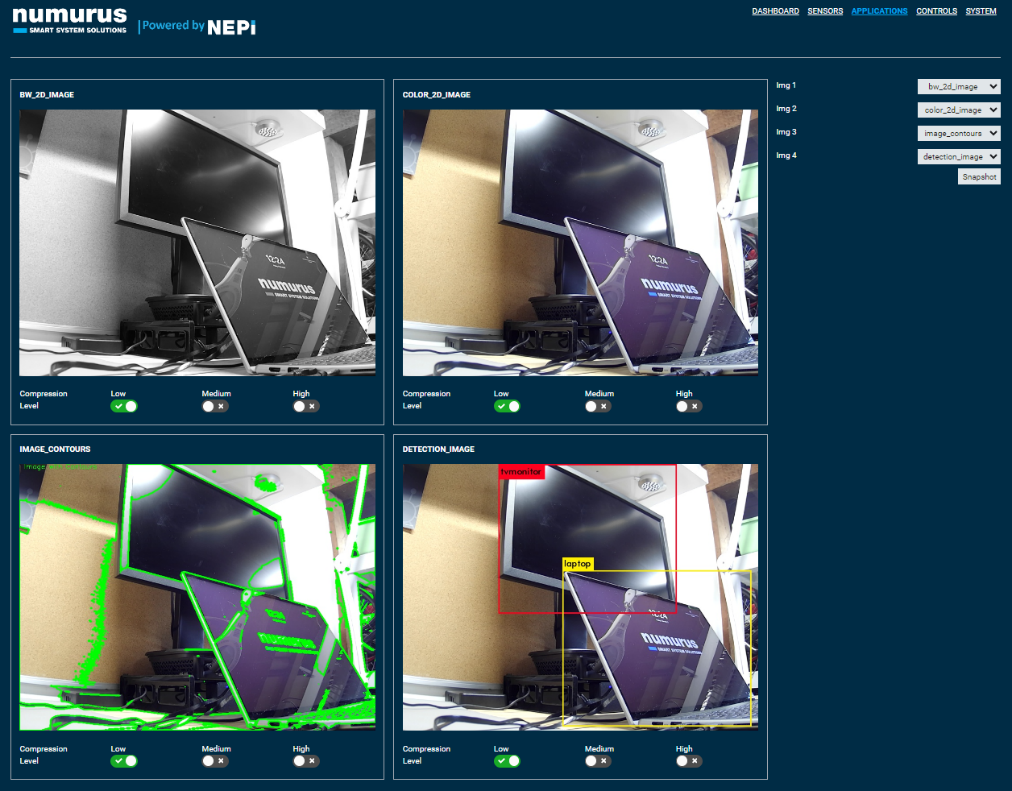
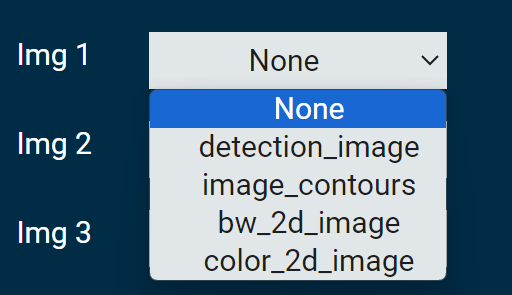
1) On your PC, open your NEPI device’s RUI APPLICATIONS/IMAGE VIEWER tab and select the images from the dropdown boxes in the order we want them to populate the viewing pane with. Select image streams for all four image panes in the following order:
bw_2d_image, color_2d_image, image contours, detection_image
You should see all four images streaming simultaneously. This can be useful for both evaluation image process outputs and the delays each process incurs.
