NEPI Engine – Sequencer Application
Introduction
This tutorial covers NEPI Engine’s built-in Sequencer application which supports creating custom image streams that include camera feeds from multiple sources. This is valuable for AI based detection applications or automation processes that need to monitor multiple camera streams at once.
What you will need
1) 1x NEPI-enabled device with internet access. This tutorial uses an edge-compute processor box that includes an NVIDIA Jetson Xavier NX embedded GPU module with NEPI Engine software installed.
NOTE: See available off-the-shelf NEPI enabled edge-compute options at: https://numurus.com/products-nepi-enabled-hardware/
2) 1x PC with internet access and configured to access the NEPI device’s RUI browser-based interface and user storage drive. This tutorial uses a Windows 11 PC and a USB GigE Ethernet adapter and Ethernet cable.
NOTE: Instructions for configuration a PC and connecting to a NEPI device’s RUI and user storage drive are provided in the NEPI Engine Getting Started tutorial at: https://nepi.com/nepi-tutorials/nepi-engine-connecting-and-setup/
3) 2x NEPI IDX supported 2D cameras. This tutorial uses two USB webcam cameras.
NOTE: For a list of NEPI IDX supported sensor interfaces and tested manufacturer hardware solutions, see the NEPI Hardware Driver Support tables available at: https://nepi.com/documentation/nepi-engine-hardware-driver-support-tables/
NOTE: See the NEPI Engine Hardware Interfacing tutorial “Imaging Sensors” for details on connecting a camera to your NEPI device at: https://nepi.com/tutorials/
Hardware Setup
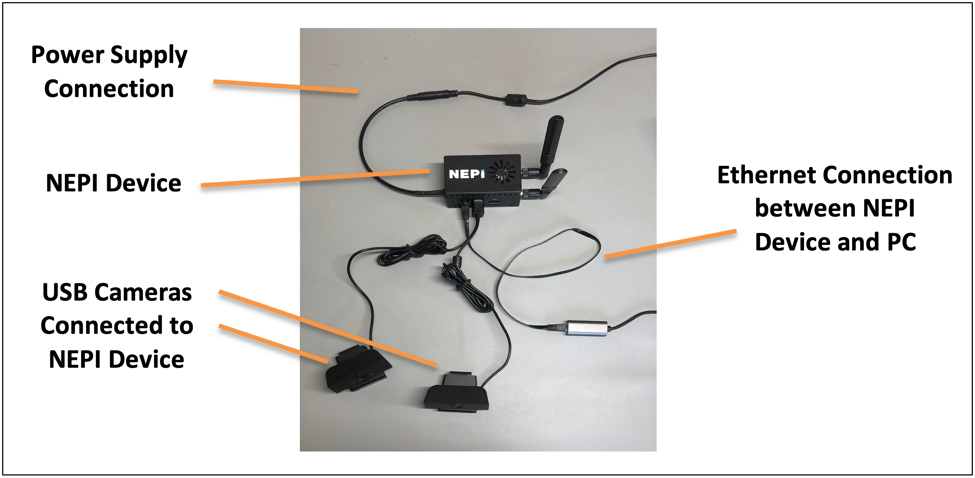
1) Connect the two NEPI IDX driver supported cameras to your NEPI device.
2) Connect the NEPI device to your PC’s Ethernet adapter using an Ethernet cable, then power your NEPI device.
Create an Image Sequence Stream
In this section we will create a custom image stream that switches between our two connected camera’s color image streams at a set rate.
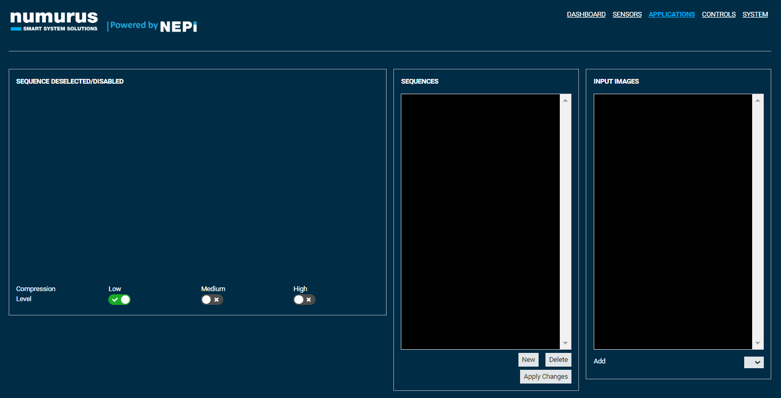
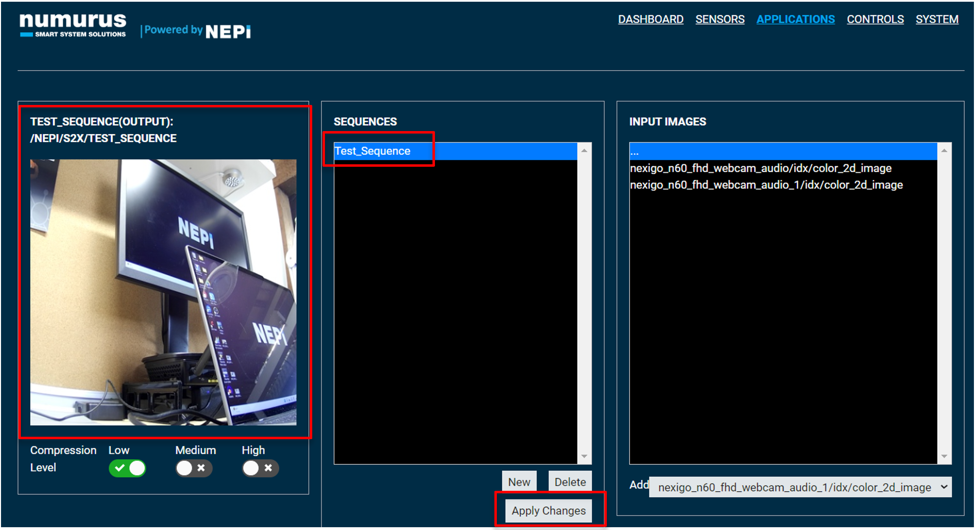
1) On your PC, open your NEPI device’s RUI and select the Applications/Sequencer tab from the top menu to open the NEPI Sequencer application page.
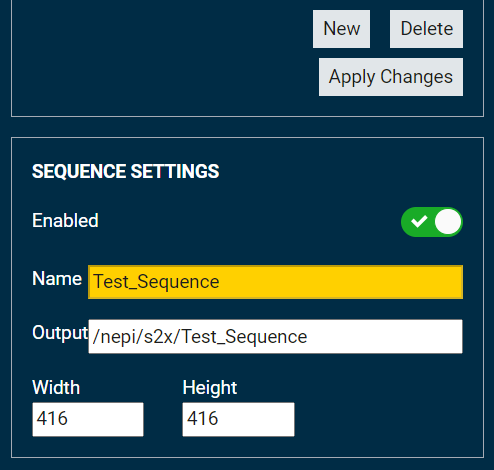
2) At the bottom of the Sequences pane, click on the “New” button. This will bring up a new box named Sequence Settings where you can enter a name for your new image sequence as well as specify the image size for the new sequence. For this tutorial, we will name this sequence “Test Sequence”. We will also enter the pixel size for our image sequence using 416×416 pixels, which is the image size our AI model scales images to before processing.
3) Next, add the images you want to your sequence using the “Add” dropdown box at the bottom of the Input Images pane.

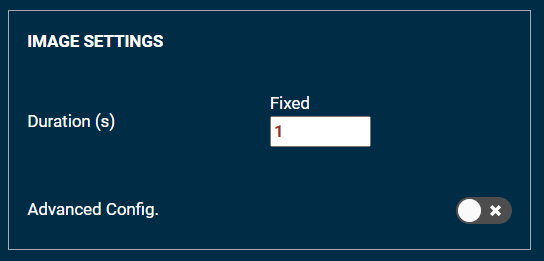
4) If you want to adjust the switching interval for your sequence, you can change the value in the “Duration(s)” input box in the Image Settings pane. For this tutorial, we will keep the default 1 second interval.
5) Finally, click the “Apply Changes” button at the bottom of the Sequences pane to create your new sequence. You should now see your new image sequence stream in the image view pane on the left side of the screen.
Connect an Image Sequence Stream to an AI Detector
The “Test_Sequence” sequenced image stream we just created is now available for AI and automation processes. In this section, we will test our new sequenced image stream by connecting it to the input of one of our AI models using the NEPI AI application.
NOTE: This AI application tutorial assumes you have at least one AI model loaded into your NEPI device’s on-board AI model library located on the NEPI device’s user storage drive in a folder called “ai_models”. To learn more about installing the AI models used in this tutorial and using the NEPI AI application, see the “AI Application” tutorial at: https://nepi.com/tutorials/
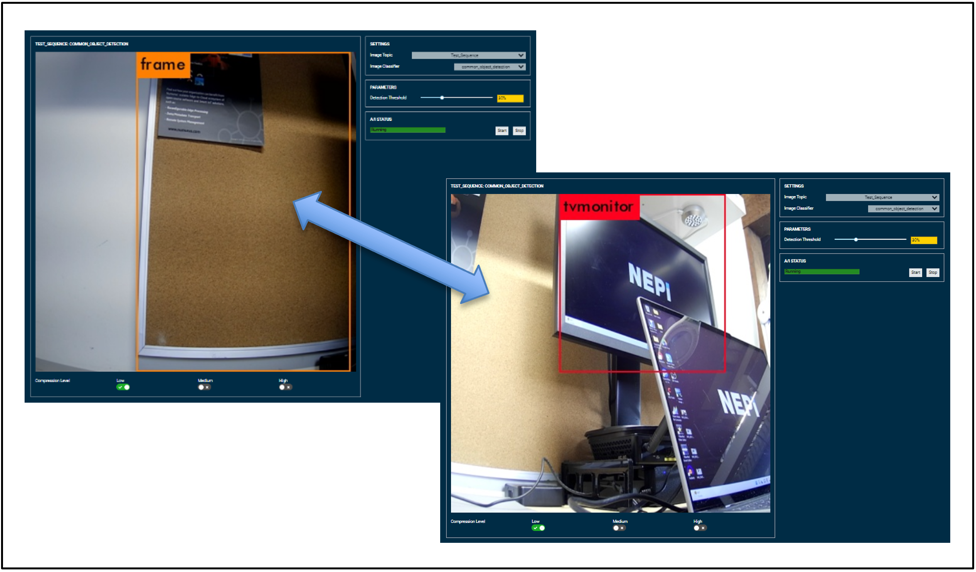
1) On your PC, open your NEPI device’s RUI APPLICATIONS/AI tab and select the “Test_Sequence” from the “Image Topic” dropdown box, one of the available AI Models from the “Image Classifier” dropdown box, and click the “Start” button at the bottom of the pane. Once your AI model loads and connects to the selected image stream, you will see the detection data overlaid on the input images of each camera as our image sequence switches between selected image streams.
