Saving and Accessing Data
Introduction
This tutorial covers saving, monitoring, and accessing data using NEPI Engine software running on an NVIDIA Jetson or other edge-compute hardware. Data saving is managed through the RUI Data Manager, which provides centralized control over data saving across all connected devices and sensors.
This tutorial assumes you have a working NEPI Engine enabled edge compute platform and are familiar with basic NEPI user interfacing like accessing the NEPI RUI (Resident User Interface) and the NEPI network shared User Storage drive.
What you will need
1) 1x NEPI-enabled device. This tutorial uses an edge-compute processor box that includes an NVIDIA Jetson Xavier NX embedded GPU with NEPI Engine software installed.
NOTE: See available off-the-shelf NEPI enabled edge-compute options at: /hardware/
2) 1x PC with internet access and configured to access the NEPI device's RUI browser-based interface and user storage drive.
NOTE: Instructions for configuring a PC and connecting to a NEPI device's RUI and user storage drive are provided in the NEPI Engine Getting Started tutorial at: /tutorials/connecting-setup/
3) 1x NEPI IDX supported 2D camera. This tutorial uses a USB webcam.
NOTE: See the NEPI Engine Hardware Interfacing tutorial "Imaging Sensors" for details on connecting a camera to your NEPI device at: /tutorials/imaging-sensors/
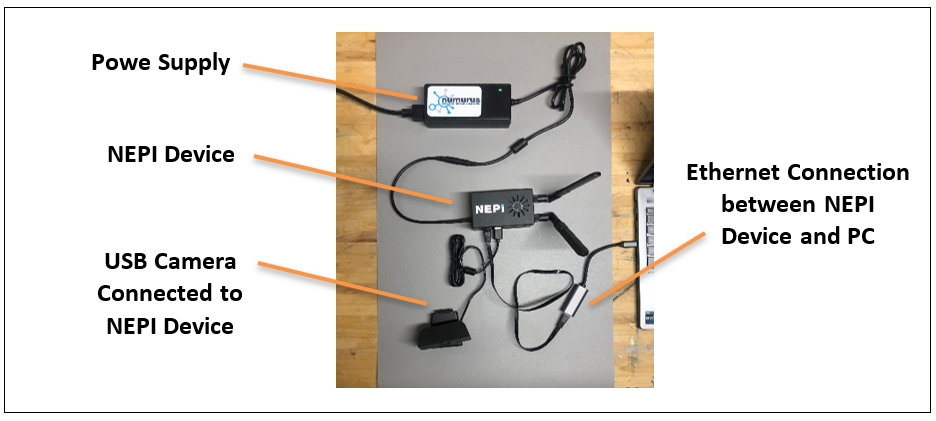
Hardware Setup
1) Connect a NEPI IDX supported camera to your NEPI device.
2) Connect the NEPI device to your PC's Ethernet adapter using an Ethernet cable, then power your NEPI device.
Saving Data
NEPI Engine's data management system provides built-in functionality for saving various types of data in standardized formats to a NEPI device's on-board user storage drive. Data types include navigation and positioning data from NEPI's NavPose management system, 2D and 3D data from NEPI IDX driver supported imaging sensors, and NEPI's AI applications.
All saved files follow this naming format:
NEPI Saved Data File Naming Format
| Format Element | Example | Description |
| prefix | demo_files_ | Optional user-defined text prepended to the filename. |
| timestamp | D2026-05-21T20-08-37p230TzUTC | Date and time of capture in UTC. |
| device | nexigo_424 | Name of the device or sensor that produced the data. |
| data type | color_image | Type of data saved (e.g. color_image, bw_image, pointcloud, nav_pose). |
Example full filename: demo_files_D2026-05-21T20-08-37p230TzUTC_nexigo_424-color_image.png
Opening the Data Manager
1) Open a web browser on your PC and navigate to your NEPI device's RUI address, for example:
http://192.168.179.103:5003
2) In the RUI app selector dropdown, choose Data Manager. The Data Manager panel will appear.
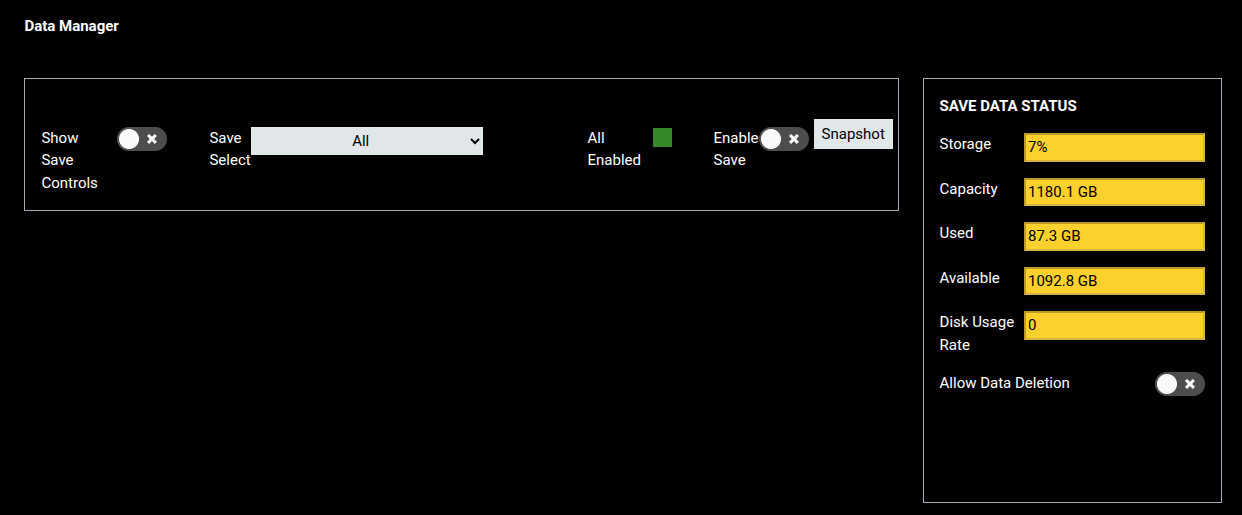
The Data Manager is divided into two areas:
- Save controls bar (left) — global and per-device controls for enabling saving, setting save rates, and configuring file naming.
- SAVE DATA STATUS panel (right) — live storage usage readouts and data deletion controls.
Enabling Saving
3) Click the Enable Save toggle to start saving data from all connected devices. The toggle turns green when saving is active. A Save Rate indicator will appear below the controls showing current data throughput in MB/s.
To capture a single frame from all enabled sources without continuous saving, click the Snapshot button instead.
Configuring Per-Device Save Settings
4) Enable the Show Save Controls toggle to expand the per-device configuration fields.
5) Use the Save Select dropdown to target a specific device, or leave it set to All to apply settings across all devices simultaneously. When a specific device is selected, an Enable All toggle appears to independently control saving for all other devices.

6) Set the save rate by entering a value in the Set Save Rate (Hz) field and pressing Enter.
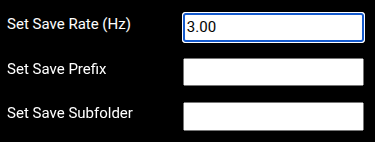
7) Optionally, enter a string in the Set Save Prefix field and press Enter to prepend a custom label to all saved filenames.
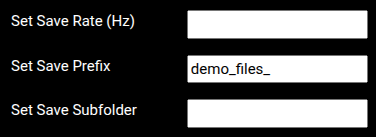
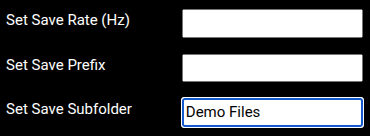
8) Optionally, enter a folder name in the Set Save Subfolder field and press Enter to save files into a named subdirectory within the data folder on the user storage drive.
NOTE: Prefix and subfolder values can be changed while saving is active. New files will immediately use the updated values.
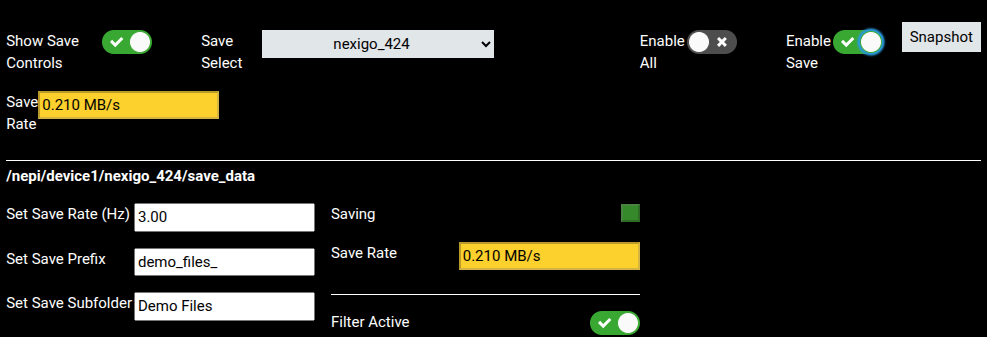
The screenshot below shows the Data Manager with all settings applied and saving active for the nexigo_424 device. The per-device panel confirms the save rate (3.00 Hz), prefix (demo_files_), and subfolder (Demo Files) are all set. The Saving indicator is green and Save Rate shows 0.210 MB/s. The Filter Active indicator confirms the save controls are scoped to the selected device.
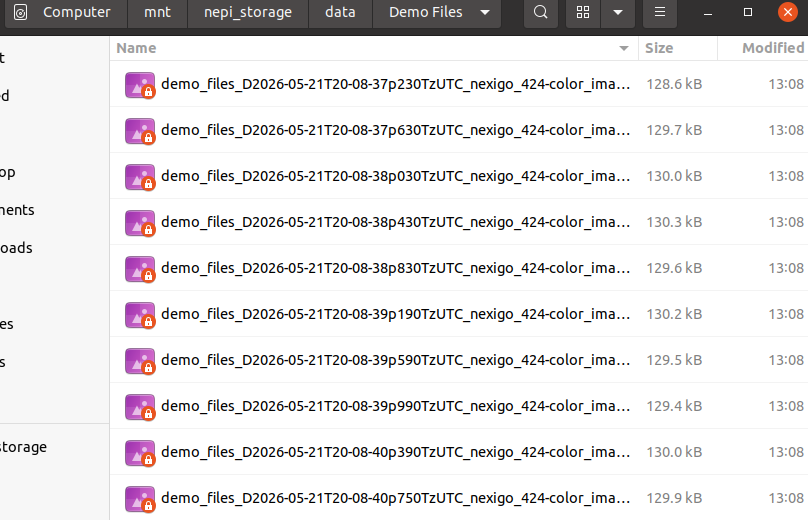
Saved files can be found in the data folder on the NEPI user storage drive, inside the subfolder if one was configured:
Deleting Saved Data
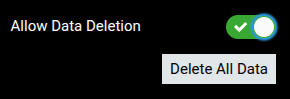
9) To bulk-delete all saved data, enable the Allow Data Deletion toggle in the SAVE DATA STATUS panel, then click the Delete All Data button that appears.
You can also manually delete individual files by browsing the user storage drive directly.
Monitoring On-Board Storage Usage
The SAVE DATA STATUS panel on the right side of the Data Manager displays live storage information for the NEPI device's user storage drive.
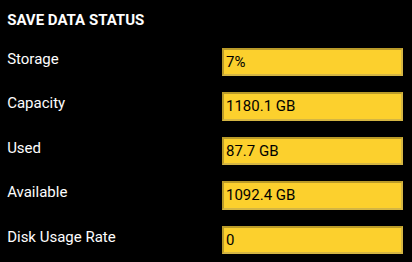
| Field | Description |
| Storage | Percentage of total storage capacity currently in use. |
| Capacity | Total size of the user storage partition. |
| Used | Amount of storage currently occupied. |
| Available | Remaining free storage space. |
| Disk Usage Rate | Current rate of disk writes in MB/s while saving is active. |
Accessing Saved Data
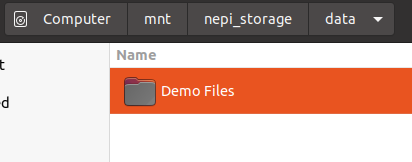
NEPI saves all data to a network shared user storage partition on the NEPI device's SSD drive. The base folder for saved data is data, located at /mnt/nepi_storage/data/ on the device.
You can find instructions for accessing your NEPI device's user storage drive in the NEPI Engine Getting Started tutorial at:
/tutorials/connecting-setup/#accessing-the-user-storage-drive
If a subfolder was configured in the Data Manager, saved files will appear inside that subfolder under data: